Want your Fruita home to stand out from the very first photo? You know buyers here picture sunrise rides, trail gear neatly stored, and easy evenings on the patio. With a clear, local-first staging plan, you can showcase that lifestyle and help your home compete with comparable listings across Mesa County. This guide gives you a practical timeline, a room-by-room checklist, and photo tips tailored to Fruita. Let’s dive in.
Why staging in Fruita works
Fruita attracts buyers who value the Western Slope lifestyle. Many look for light, open rooms, simple design, and a smooth flow to patios and views. When you stage with that in mind, you help buyers picture weekends exploring nearby trails and evenings relaxing outside.
Common home styles in Fruita include single-story ranches, split-levels, and newer builds with indoor-outdoor flow. Keep sightlines open, show how furniture fits in smaller footprints, and make patios feel like a true extension of the living space. If you have older finishes, neutral paint and simplified decor help buyers imagine their own updates.
Our high-desert climate rewards smart curb appeal. Tidy rock beds, low-water plants, and clean windows give your home a crisp, sunlit look in photos. Highlight durable surfaces and functional spaces like mudrooms and garages. These cues speak to gear-loving buyers without adding clutter.
Your 30-120 day plan
A simple timeline keeps you on track and photo-ready on schedule.
60-120 days out
- Declutter deeply. Sort closets, garage, attic, and seasonal storage. Consider a small storage unit so rooms feel calm and spacious.
- Plan any big repairs. Roof, HVAC, structural, or deck work should be scheduled early. Check the City of Fruita or Mesa County building departments if you’re unsure about permits.
- Refresh paint in high-impact areas. Neutral colors in main living spaces and trim help rooms feel bright and consistent across photos.
- Update dated lighting that drags photos down. Choose simple, neutral fixtures that enhance brightness.
14-45 days out
- Book a professional deep clean. Include windows, grout, and carpets for a crisp, move-in ready feel.
- Make minor cosmetic updates. Swap cabinet hardware, outlet and switch plates, and worn door handles. Re-caulk baths and replace tired shower liners.
- Refresh landscaping for our climate. Remove weeds, top off rock or mulch, and repair irrigation where needed. Add drought-tolerant plants for a polished look.
1-7 days out
- Final declutter and staging. Place furniture, art, and accents to support clean sightlines and natural light.
- Schedule pro photos. Ask for midday interiors to capture sunlight and consider twilight or golden-hour exteriors if your porch or patio is a feature.
- Do targeted touch-ups. Patch scuffs, polish fixtures, and make sure every bulb works.
Room-by-room checklist
Use this list in the order photographers typically shoot. Items marked High priority should be completed before photos.
Exterior and curb appeal
- High priority: Clear the driveway and porch. Store tools, extra bikes, and trash bins out of sight.
- Tidy landscaping. Prune, sweep hardscapes, pull dead plants, and refresh mulch or rock beds.
- Check small repairs. Tighten railings, update bulbs, and make house numbers crisp and visible.
- Keep decor neutral. A simple seating setup with clean cushions reads well in photos.
- Test lighting. Exterior lights help evening or twilight shots shine.
Entry and foyer
- Keep surfaces clear. Add a neutral runner, one statement art piece, and a single plant.
- Protect sightlines. Make sure you can see into living spaces without visual clutter.
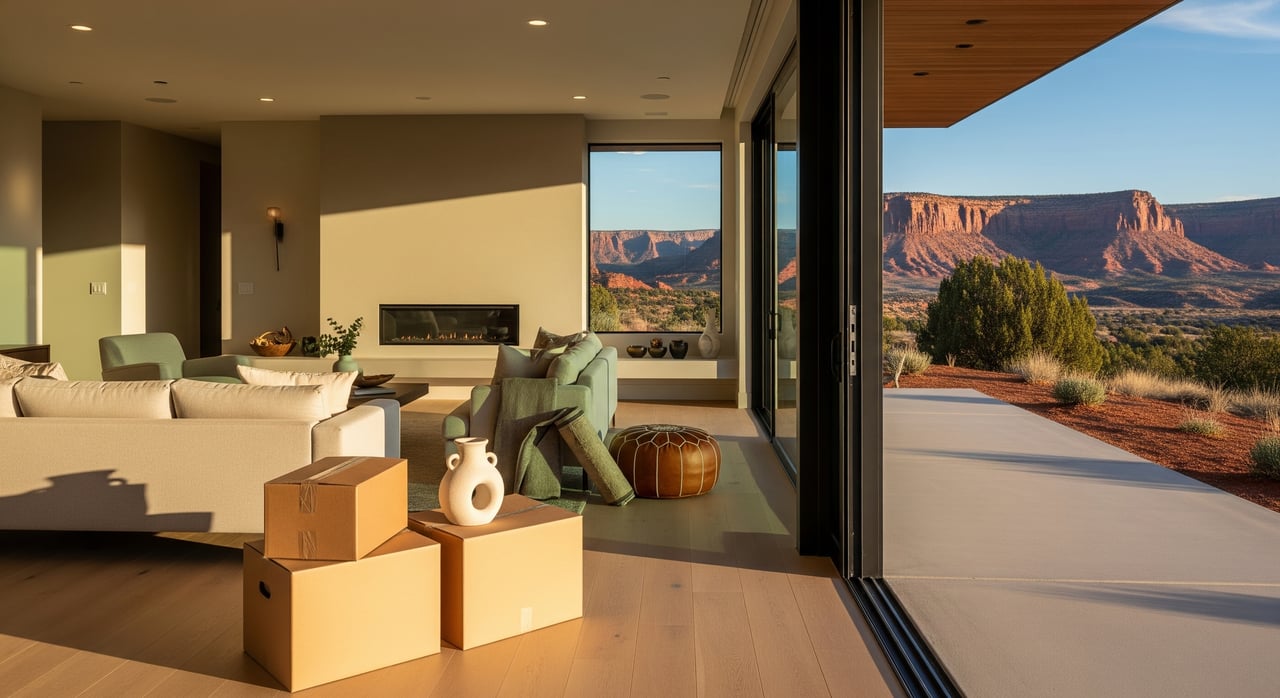
Living room or great room
- High priority: Arrange furniture as a conversation area. Remove extras to feel spacious.
- Boost natural light. Open blinds and curtains and remove heavy drapery that blocks sun.
- Keep decor simple. Limit to a throw, one coffee-table item, and a couple of pillows.
- Feature your focal point. If you have a fireplace or view, orient seating so it shows in the frame.
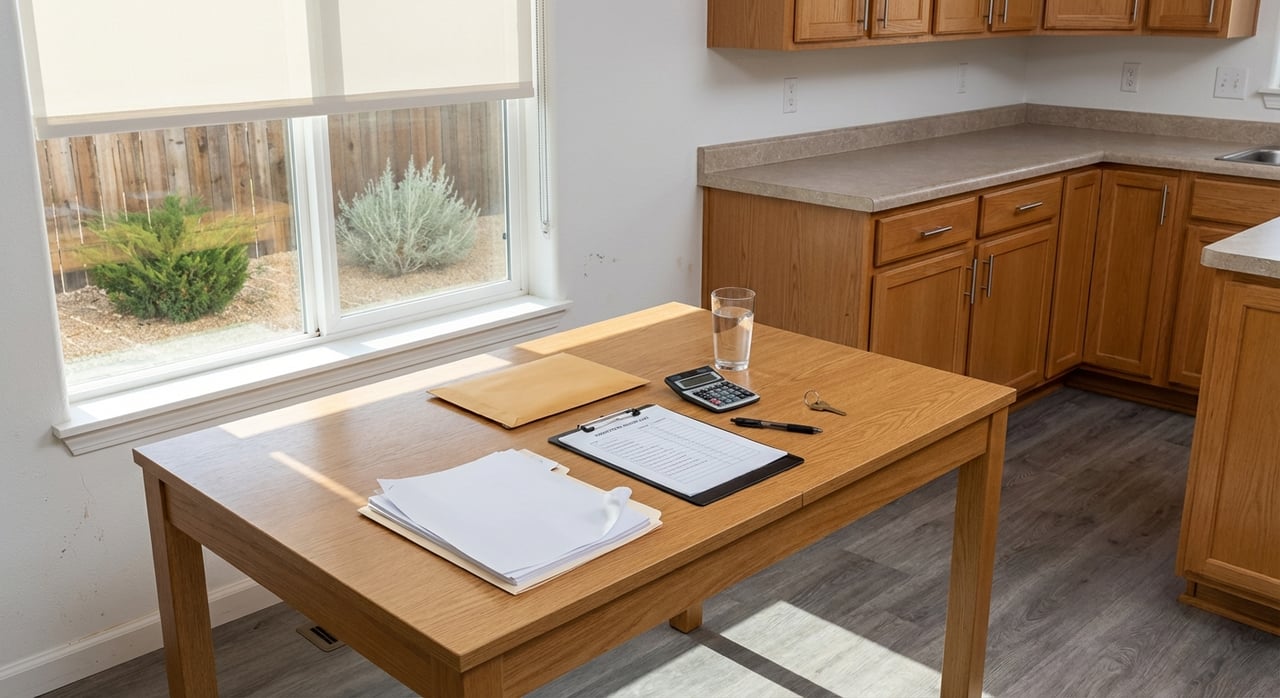
Kitchen
- High priority: Clear counters completely. Store small appliances, paper piles, and fridge magnets.
- Deep clean. Polish stainless, scrub the sink and grout, and wipe cabinet faces.
- Add small, fresh accents. A bowl of fruit, a folded towel, one cookbook, or a small vase of greenery works well.
- Consider small upgrades. New cabinet hardware or fresh aerators can improve photo detail.
- Tidy visible storage. If your pantry or glass-front cabinets will be photographed, organize them.
Dining area
- Keep it minimal. Set placemats and a simple centerpiece and push in chairs evenly.
- Coordinate with the kitchen. Use complementary tones so the open-plan space reads as one.
Primary bedroom
- High priority: Dress the bed fully. Use neutral linens, two or three pillows, and a light throw.
- Clear surfaces. Keep nightstands to a lamp and one small accessory.
- Show storage thoughtfully. An organized, not overfull closet helps buyers gauge space.
Secondary bedrooms and flex rooms
- Choose a purpose. Stage as a guest room or a home office to match likely buyer needs.
- Reduce visual clutter. Neutral linens and minimal decor keep rooms feeling larger.
- Edit furniture. In small rooms, fewer pieces show more usable floor space.
Bathrooms
- High priority: Clear counters. Remove personal items and shower bottles.
- Freshen textiles. Hang clean towels and replace any worn liners.
- Shine and sanitize. Polish mirrors and fixtures and address water stains or mildew.
Laundry and mudroom
- High priority: Show function. Add wall hooks, baskets, and a mat to suggest durable daily use.
- Reduce piles. Store excess gear off-site or out of frame for photos.
Garage and storage
Clean and organize. Sweep, reduce clutter, and show neat storage.
Consider a small lifestyle cue. A tidy bike rack or labeled bins can speak to Fruita buyers without clutter.
Basement or lower level
- Define the use. Stage as a media space, gym, or additional living area if finished.
- If unfinished, make it neat. Remove debris, organize storage, and add lighting.
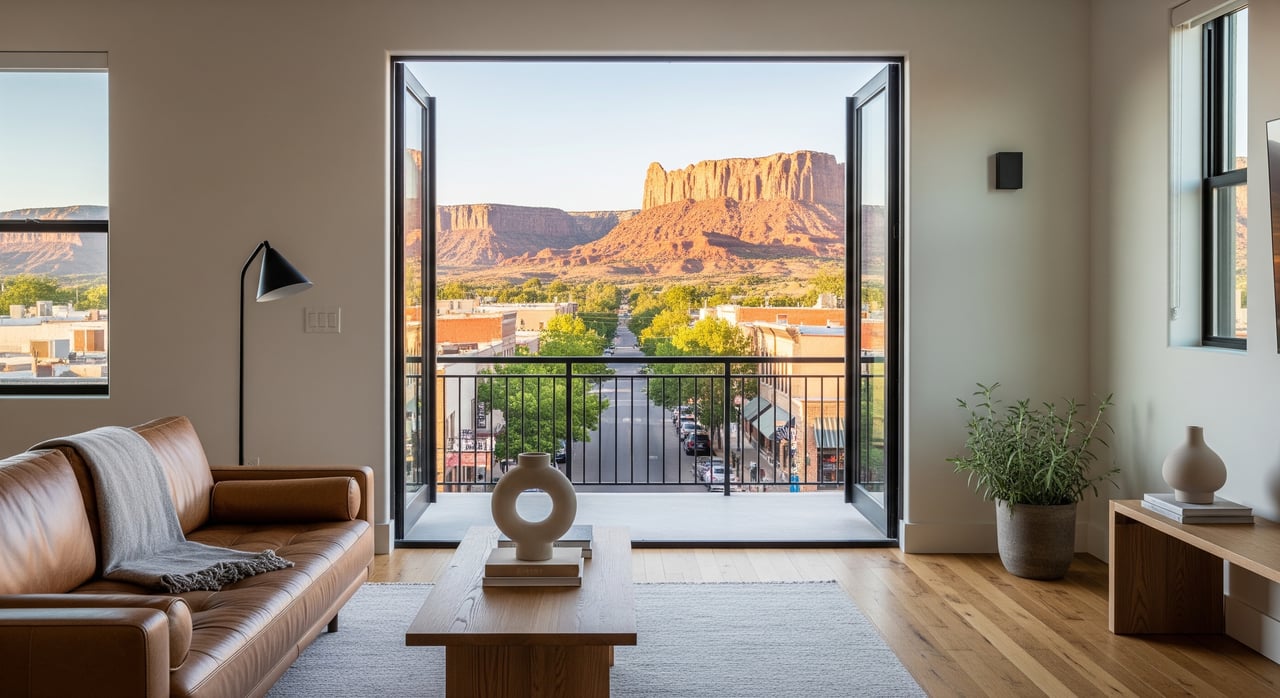
Outdoor living spaces
- High priority: Set the scene. Arrange seating or a simple dining setup with low-water plant accents.
- Frame the view. Position furniture and photos to include patios, ridgelines, or open space if visible.
- Keep it clean. Sweep dust and pollen, wipe railings, and clean glass for a bright look.
Photo tips that sell
- Schedule photos after staging and deep cleaning. Clean, well-lit spaces read best online.
- Use natural light. Mid-morning to late afternoon often works well. Ask about twilight shots for porches or patios.
- Mind proportions. Photographers use wide-angle lenses, so keep furniture scaled to the room.
- Tell the lifestyle story. Include a few detail shots like an organized mudroom or a ready-to-enjoy patio.
- Capture views cleanly. Use techniques that balance interior light with bright outdoor vistas.
Professional help, simplified
What staging includes
- Consultation only. A stager tours your home and provides a written plan you implement.
- Partial staging. Key rooms get furniture and decor to highlight scale and flow.
- Full staging. Main living areas, bedrooms, and sometimes outdoor spaces are furnished for a cohesive look.
Vetting a stager
- Ask for a local portfolio that matches your home’s style and price point.
- Request a written plan with rooms covered, timeline, delivery and pickup, and insurance details.
- Check professional memberships and references. Request before-and-after photos.
- Clarify fees. Compare consultation, rental, and delivery costs and ask about short-term photo staging.
Vetting a photographer
- Review full galleries. Look for natural color, clear interior lighting, and attention to exterior views.
- Confirm deliverables. Number of images, turnaround time, twilight shots, and licensing for MLS use.
- Align on goals. Share your staging plan so they highlight outdoor access, storage, and views.
Budget priorities
- Low-cost (under $500). Decluttering, minor repairs, deep cleaning, hardware swaps, a single-room paint refresh, and removing heavy window treatments.
- Moderate-cost ($500-$3,500). Whole-house neutral paint for smaller homes, updated light fixtures, professional carpet cleaning or key area rug replacement, full kitchen hardware, and partial staging for feature rooms.
- Higher-cost (over $3,500). Flooring updates, kitchen refacing, permitted deck repairs, full-house professional staging, and larger landscape work. Start bigger projects earlier to allow for scheduling.
If you are on a tight budget, prioritize neutral paint, a thorough deep clean, and spotless kitchens and baths. In Fruita, dial in your mudroom, laundry, and garage organization to speak to gear-friendly buyers. Make sure patios feel like true living space.
Local to-dos
- Check permits before exterior or structural work. Contact the City of Fruita or Mesa County building departments to confirm requirements for decks, electrical, or plumbing changes.
- Ask your agent about MLS photo specs. Some offices have standards for image size and order.
- Use local landscape guidance. Look to CSU or Mesa County Extension for xeriscape and water-wise plant ideas suited to our climate.
Day-of-photos checklist
- Turn on all lights and open blinds and curtains.
- Set a comfortable temperature.
- Remove pets, bowls, and litter boxes and neutralize odors.
- Hide personal items and sensitive decor.
- Do a quick sweep and vacuum and polish glass and stainless surfaces.
Wrap-up and next steps
Great staging tells a simple story: your home makes daily life easier and weekends more fun. In Fruita, that means clear, bright interiors, seamless flow to patios, and practical storage where it counts. Follow this timeline and checklist to present a move-in ready, lifestyle-forward listing that shines in photos and in person.
If you want a custom plan, local vendor referrals, and hands-on guidance, reach out. You can schedule a friendly consult with Arianne Nelson Miller - Main Site to map the best prep path for your home and timeline.
FAQs
What should I prioritize first when staging a Fruita home?
- Start with decluttering, neutral paint in main areas, a deep clean, and curb appeal that fits our high-desert climate with tidy rock beds and low-water plants.
Do I need to empty closets and cabinets completely?
- No, just organize them so they are not overfull; tidy, half-full storage reads larger and more functional in photos and showings.
Should I move out or remove most of my furniture?
- Keep proportional pieces that define use and flow; remove extras so rooms feel open, and consider partial staging for key rooms if the house is vacant.
How far ahead should I book photos and staging?
- Complete staging and a final clean the day before or morning of photos, and ask your photographer about midday interiors and optional twilight exteriors.
How do I handle outdoor gear during photos?
- Show one or two clean, organized gear cues like a small bike rack, then store the rest out of frame to avoid visual clutter.
Do I need permits for exterior updates like deck work?
- Check with the City of Fruita or Mesa County building departments before starting exterior or structural projects to confirm permit requirements.